
 By Omar Haddad
Home & DIY
Install a Floating Shelf That Stays Level
4 steps60 min Intermediate
By Omar Haddad
A smooth, streak-free finish and crisp edges. Prep, tape, cut in and roll with the techniques professional painters use, and avoid the most common mistakes.
Log in to keep your progress across devices.
1 Step 1
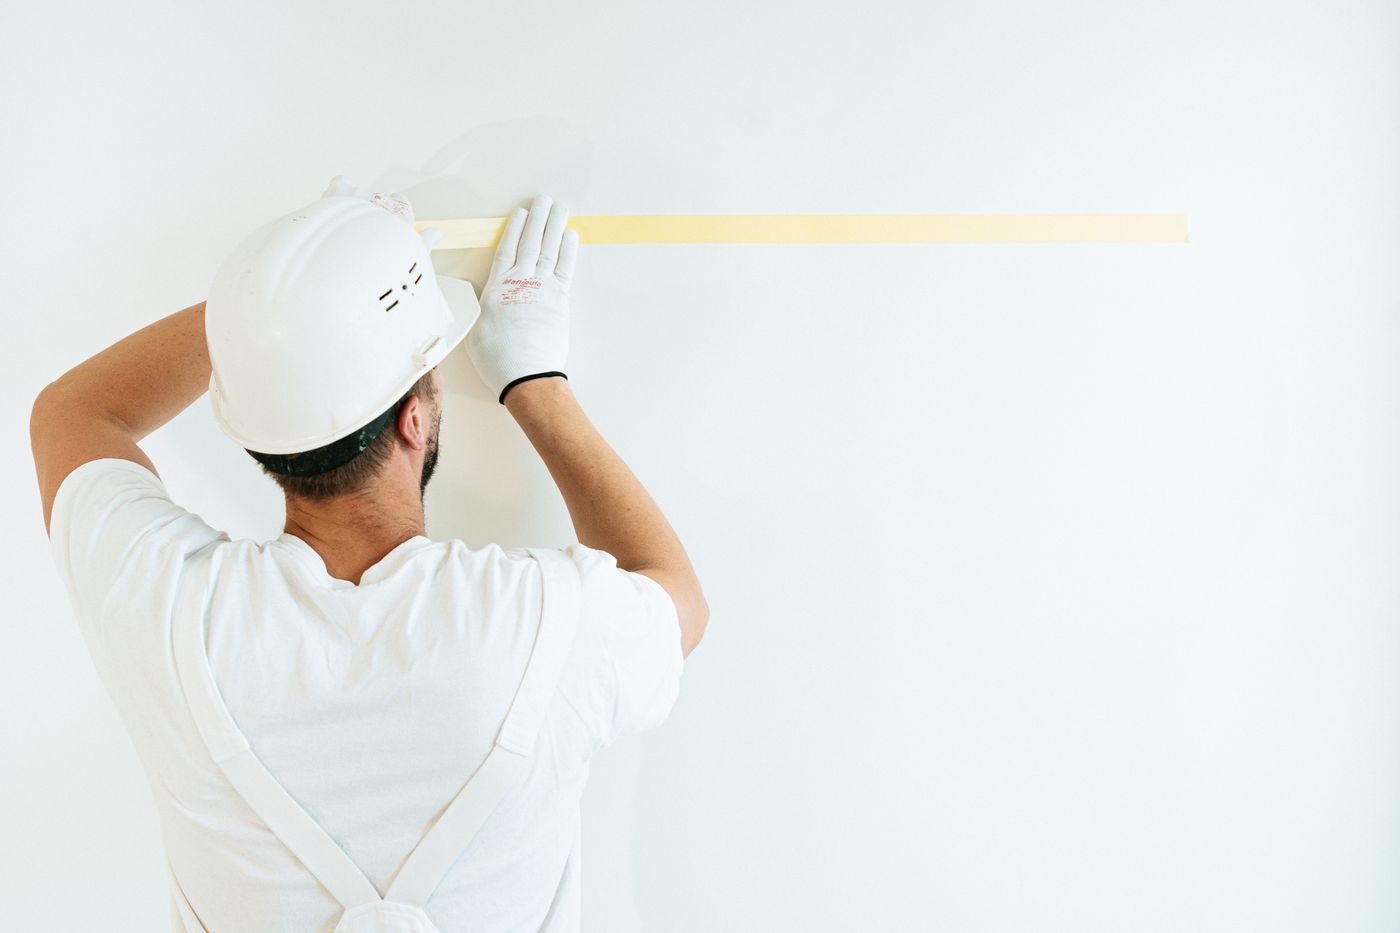
Move furniture out or to the center and cover it and the floor with drop cloths. Fill holes with filler, lightly sand them smooth and wipe the dust away. Run painter's tape along the ceiling, baseboards and trim, pressing the edge firmly with a putty knife to seal it.
Pro tip: Prep is 70 percent of a good paint job. Rushing here is where most DIY results go wrong.
2 Step 2
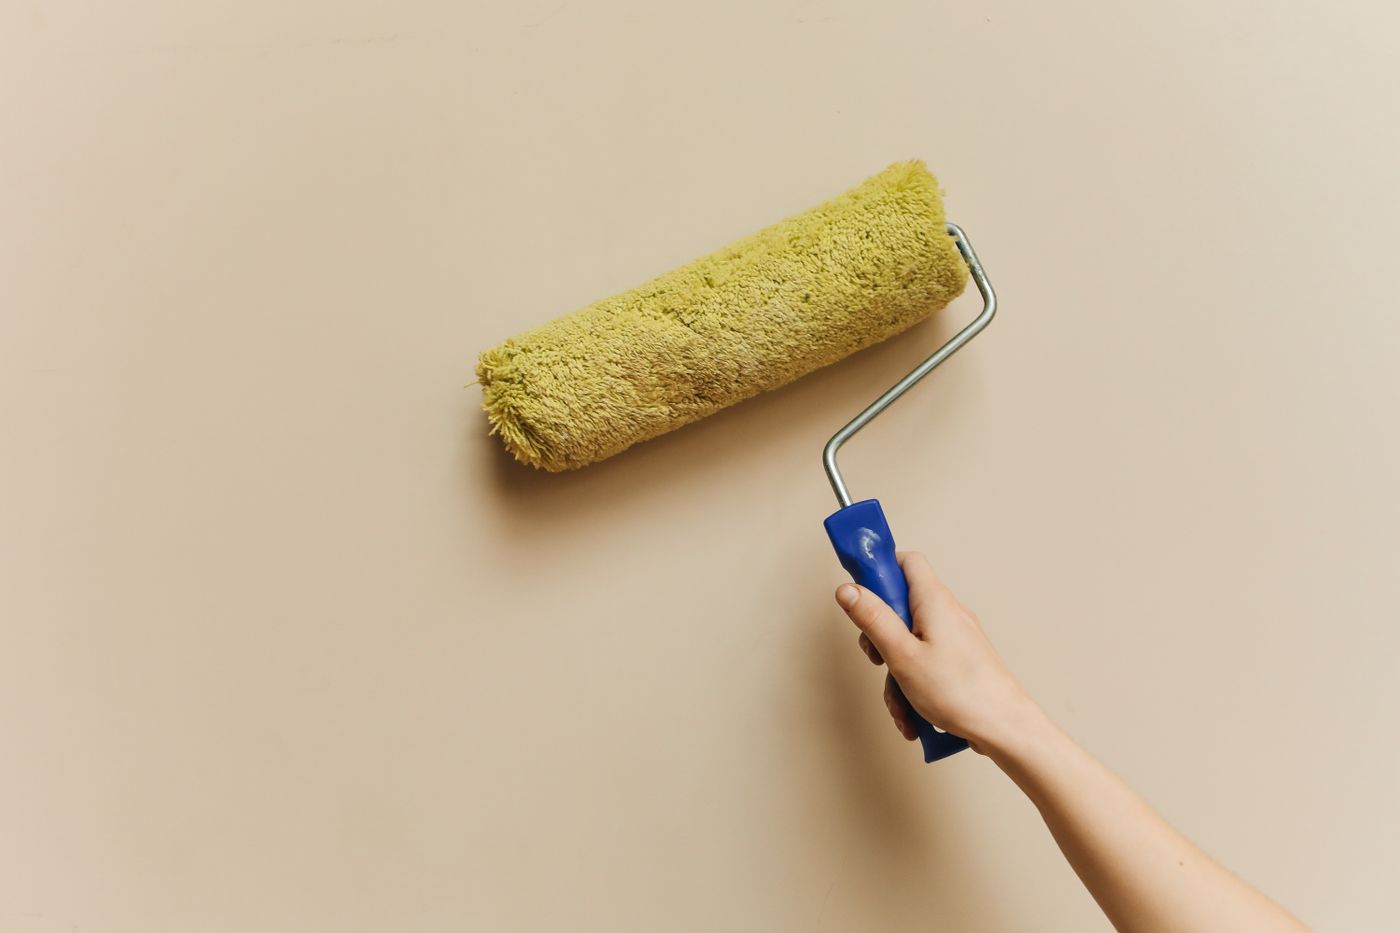
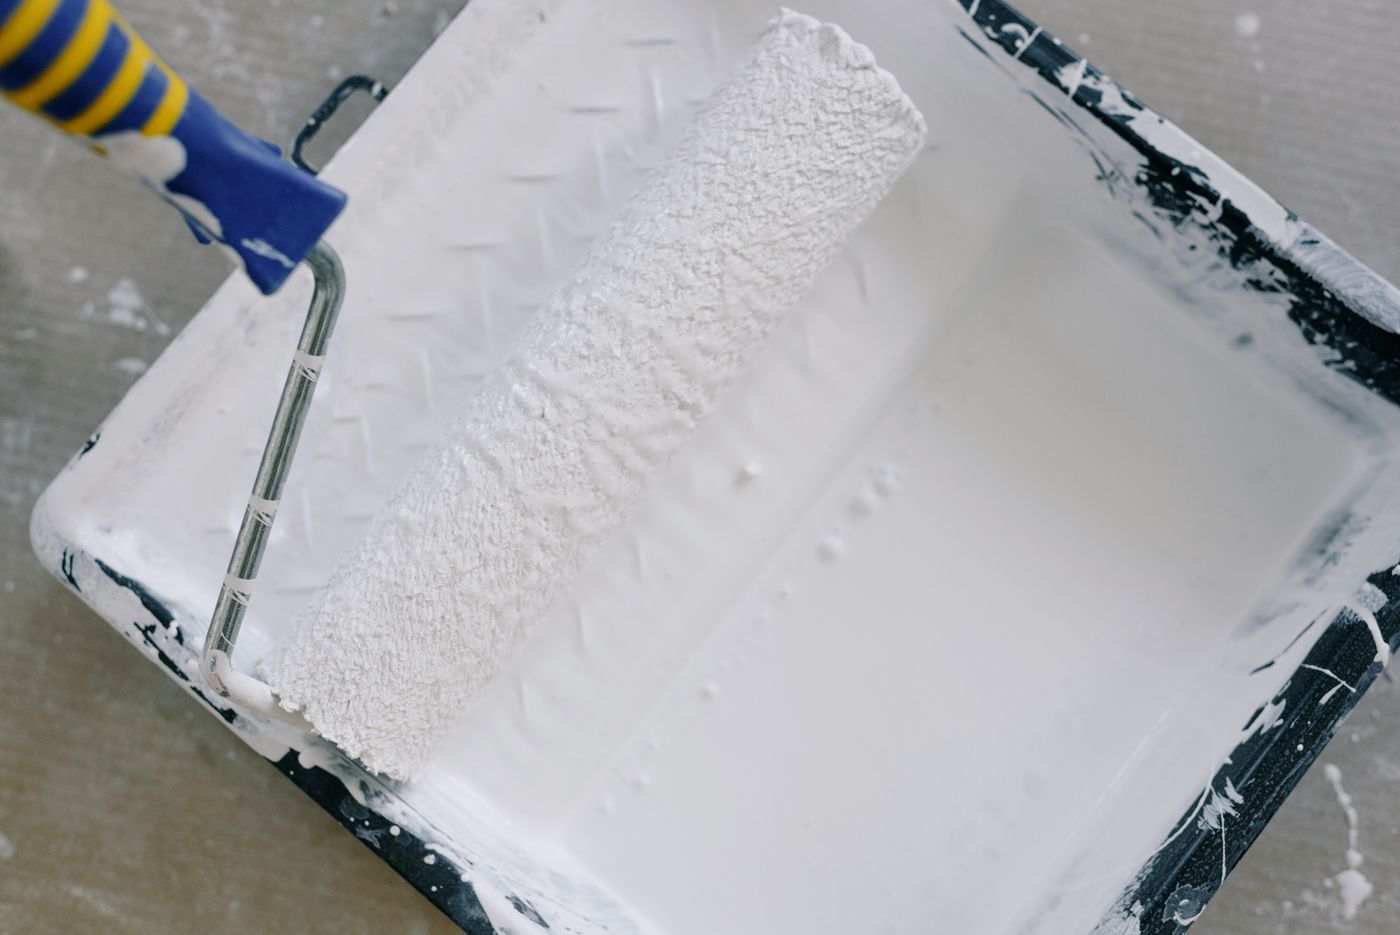
Pour paint into the tray's deep end, dip the roller and roll it back and forth on the ramp until it is evenly loaded but not dripping. A properly loaded roller leaves a smooth film, a dripping one leaves runs.
Pro tip: Always stir the paint thoroughly, even new cans. The pigment settles at the bottom.
3 Step 3
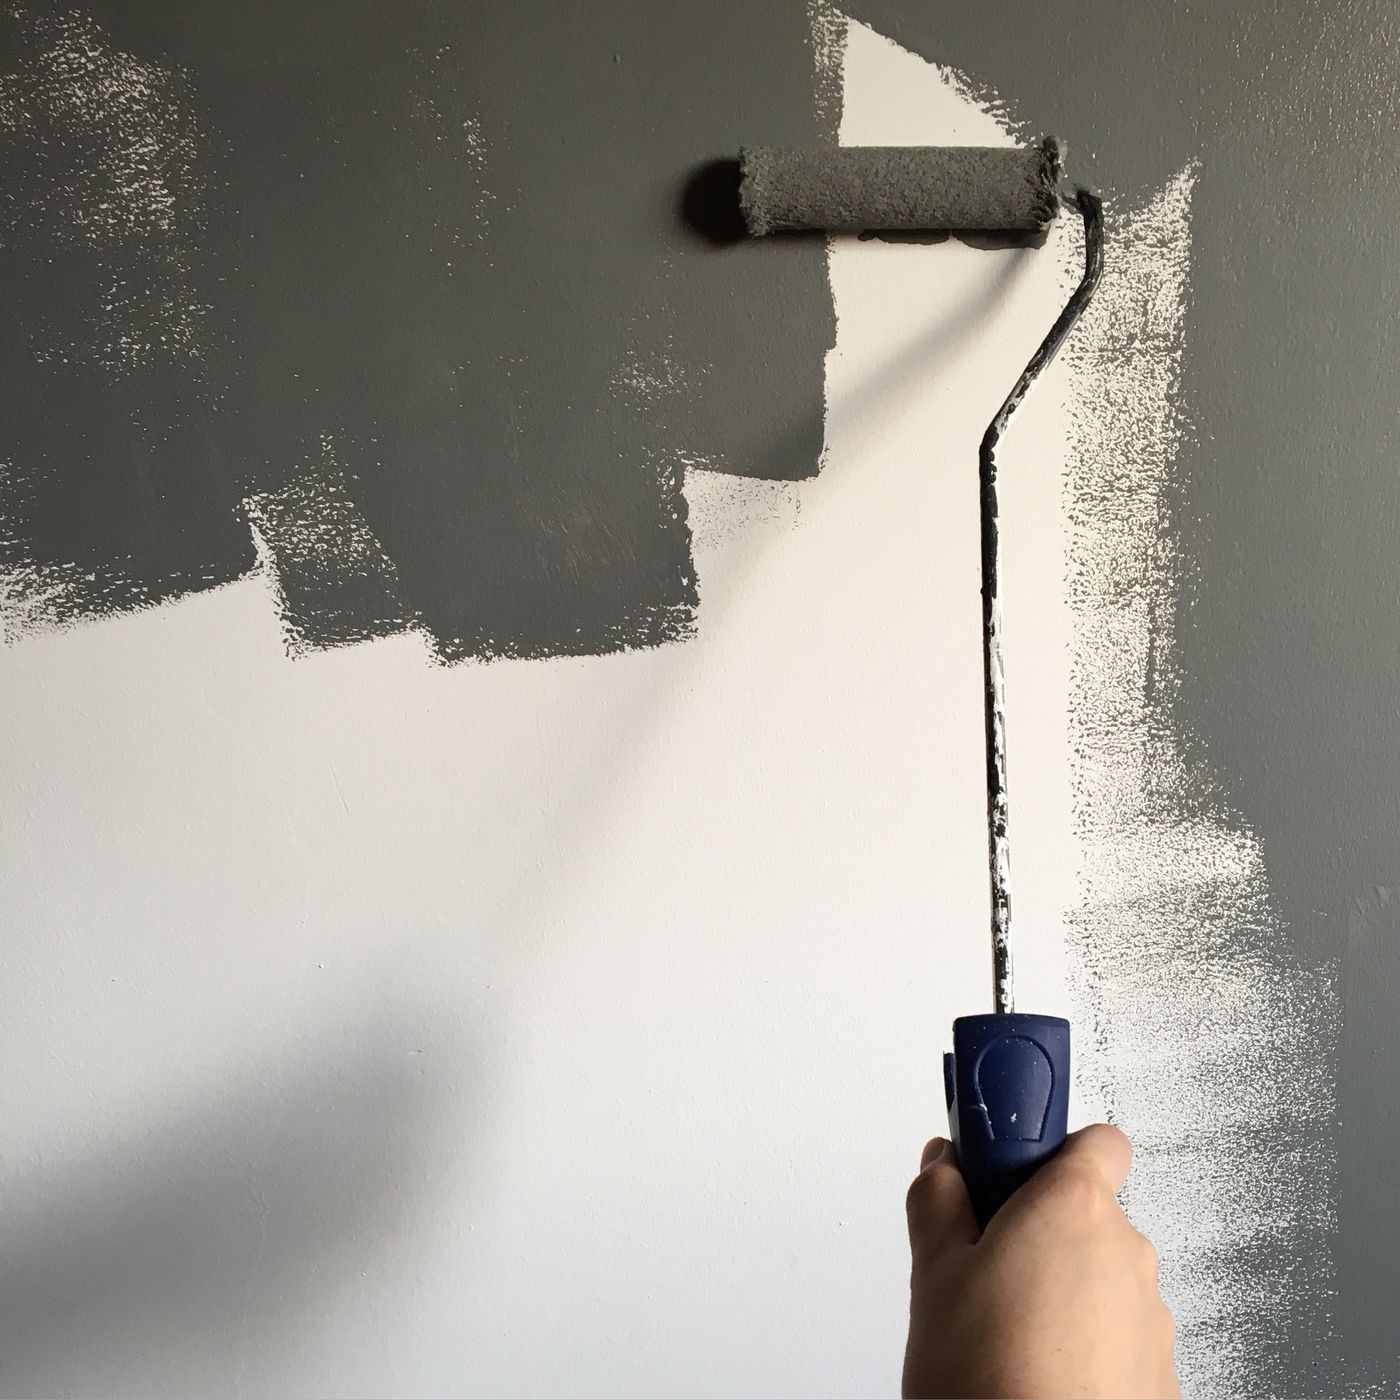
Use the angled brush to paint a 5 cm band along the ceiling, corners and trim. Then, while it is still wet, roll the wall in a big 'W' pattern and fill it in with parallel strokes. Keep a wet edge and work in sections of about one square metre.
Pro tip: Roll from dry to wet areas so lap marks do not show.
4 Step 4
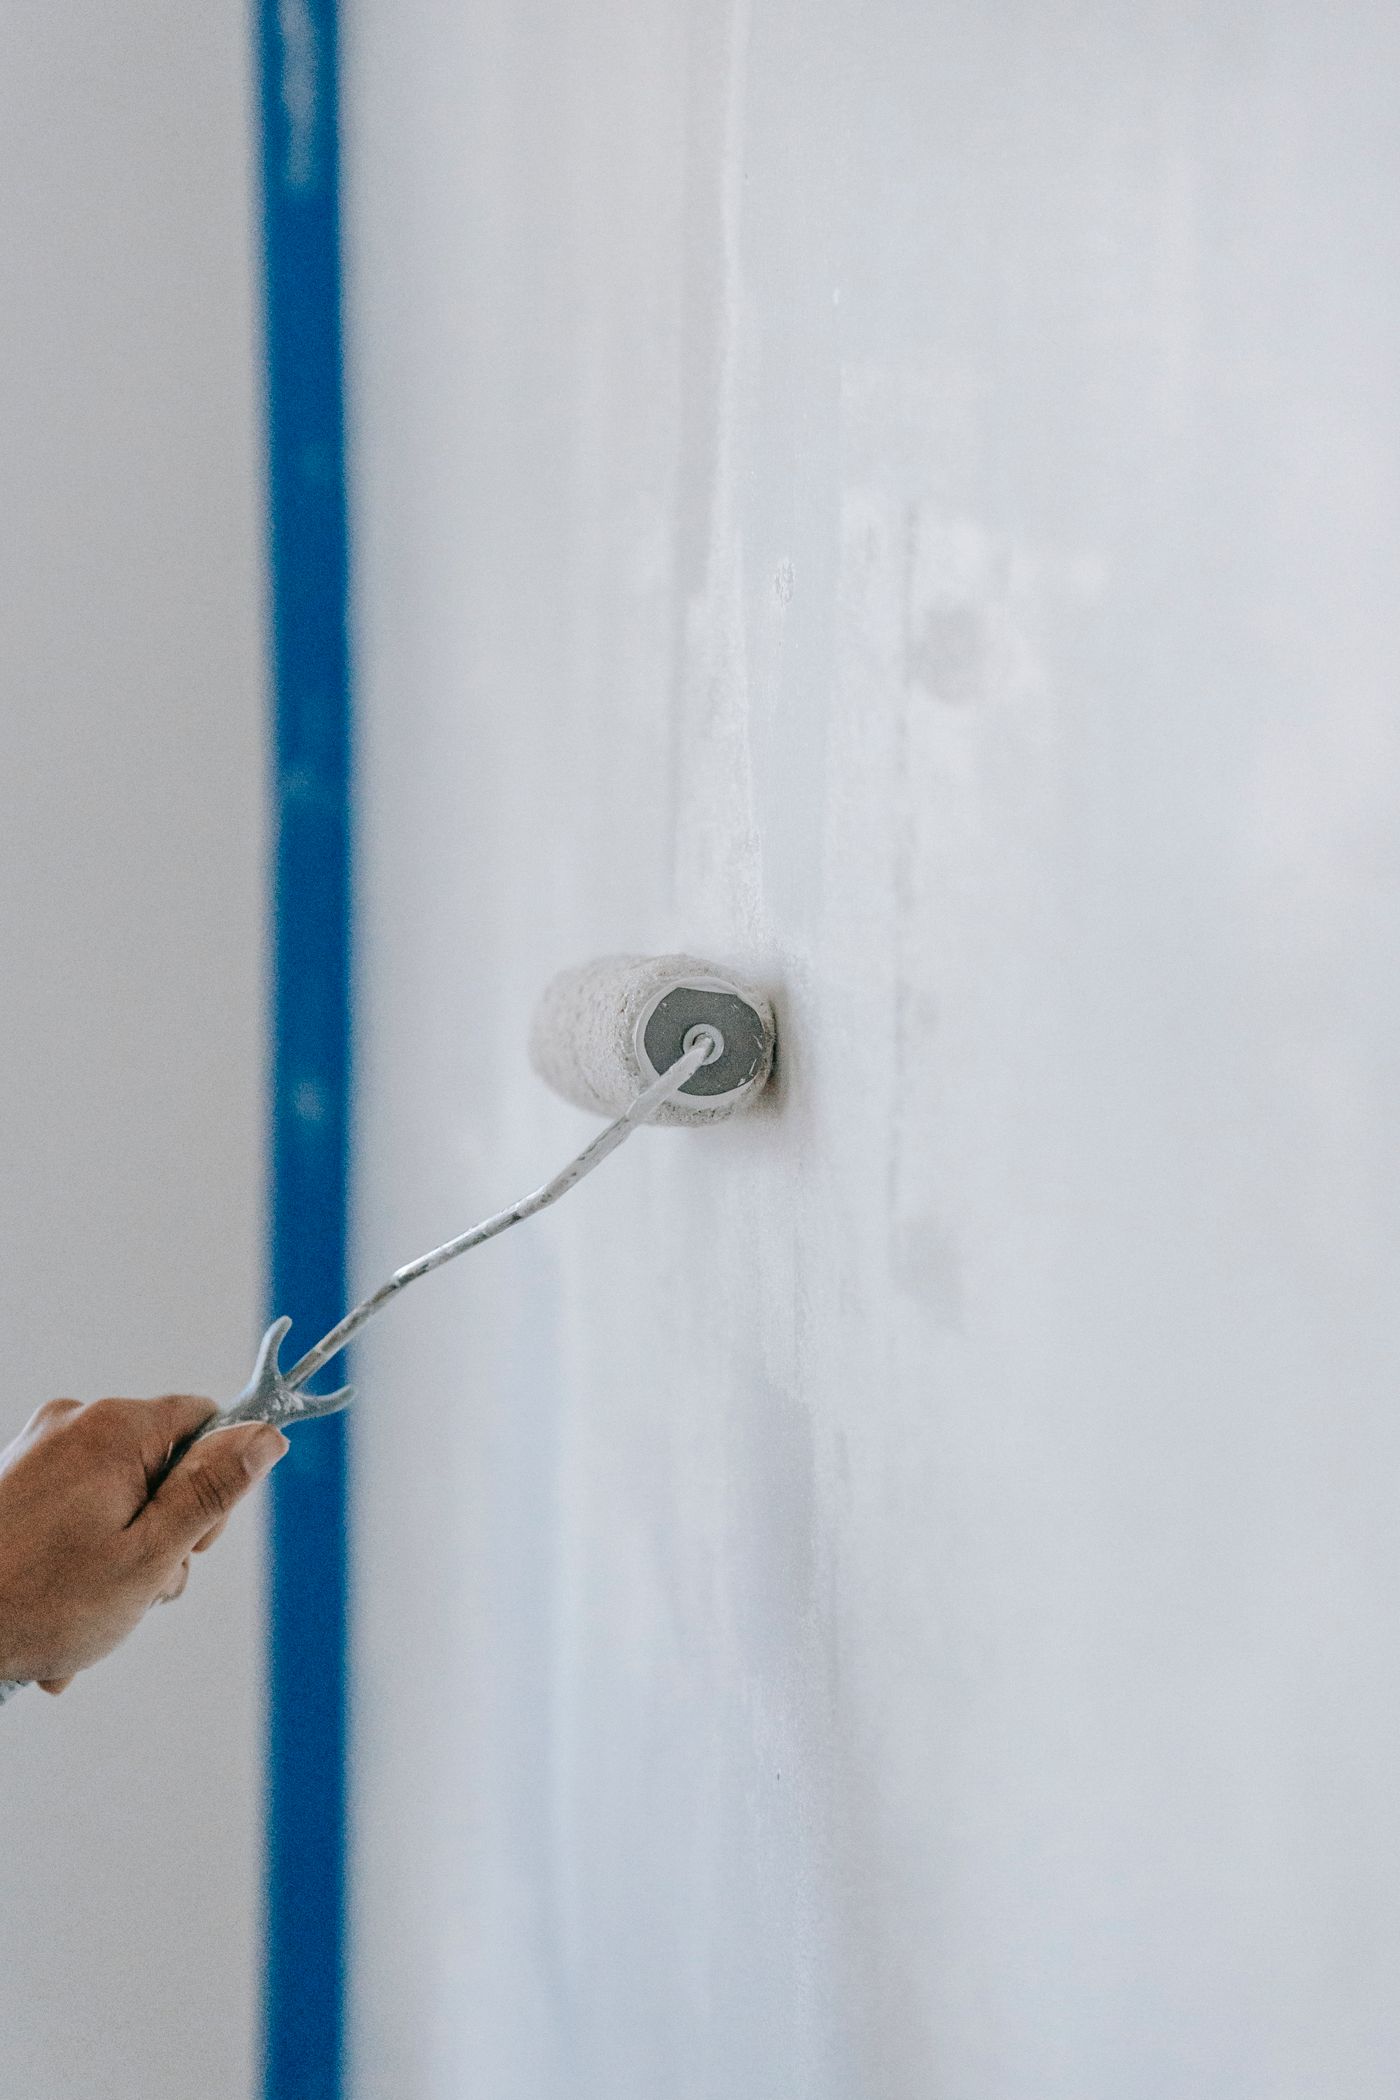
Let the first coat dry for the time on the can, usually 2 to 4 hours, then apply a second coat the same way. Peel the tape slowly at a 45-degree angle while the paint is slightly tacky, not fully dry, for the cleanest line. Clean tools straight away.
Pro tip: Score along the tape edge with a craft knife if the paint has bridged across, before you pull.
Something wrong with this tutorial?
Log in and finish the steps to leave a review.
Loading reviews…
Omar Haddad
Renovation contractor & PC building hobbyist
More tutorials related to this topic