
 By Omar Haddad
Home & DIY
Paint a Room Like a Pro
4 steps240 min Beginner
By Omar Haddad
A clean floating shelf that is truly level and holds real weight. Find the studs, mark with a spirit level, drill the right holes and mount it securely.

Log in to keep your progress across devices.
1 Step 1
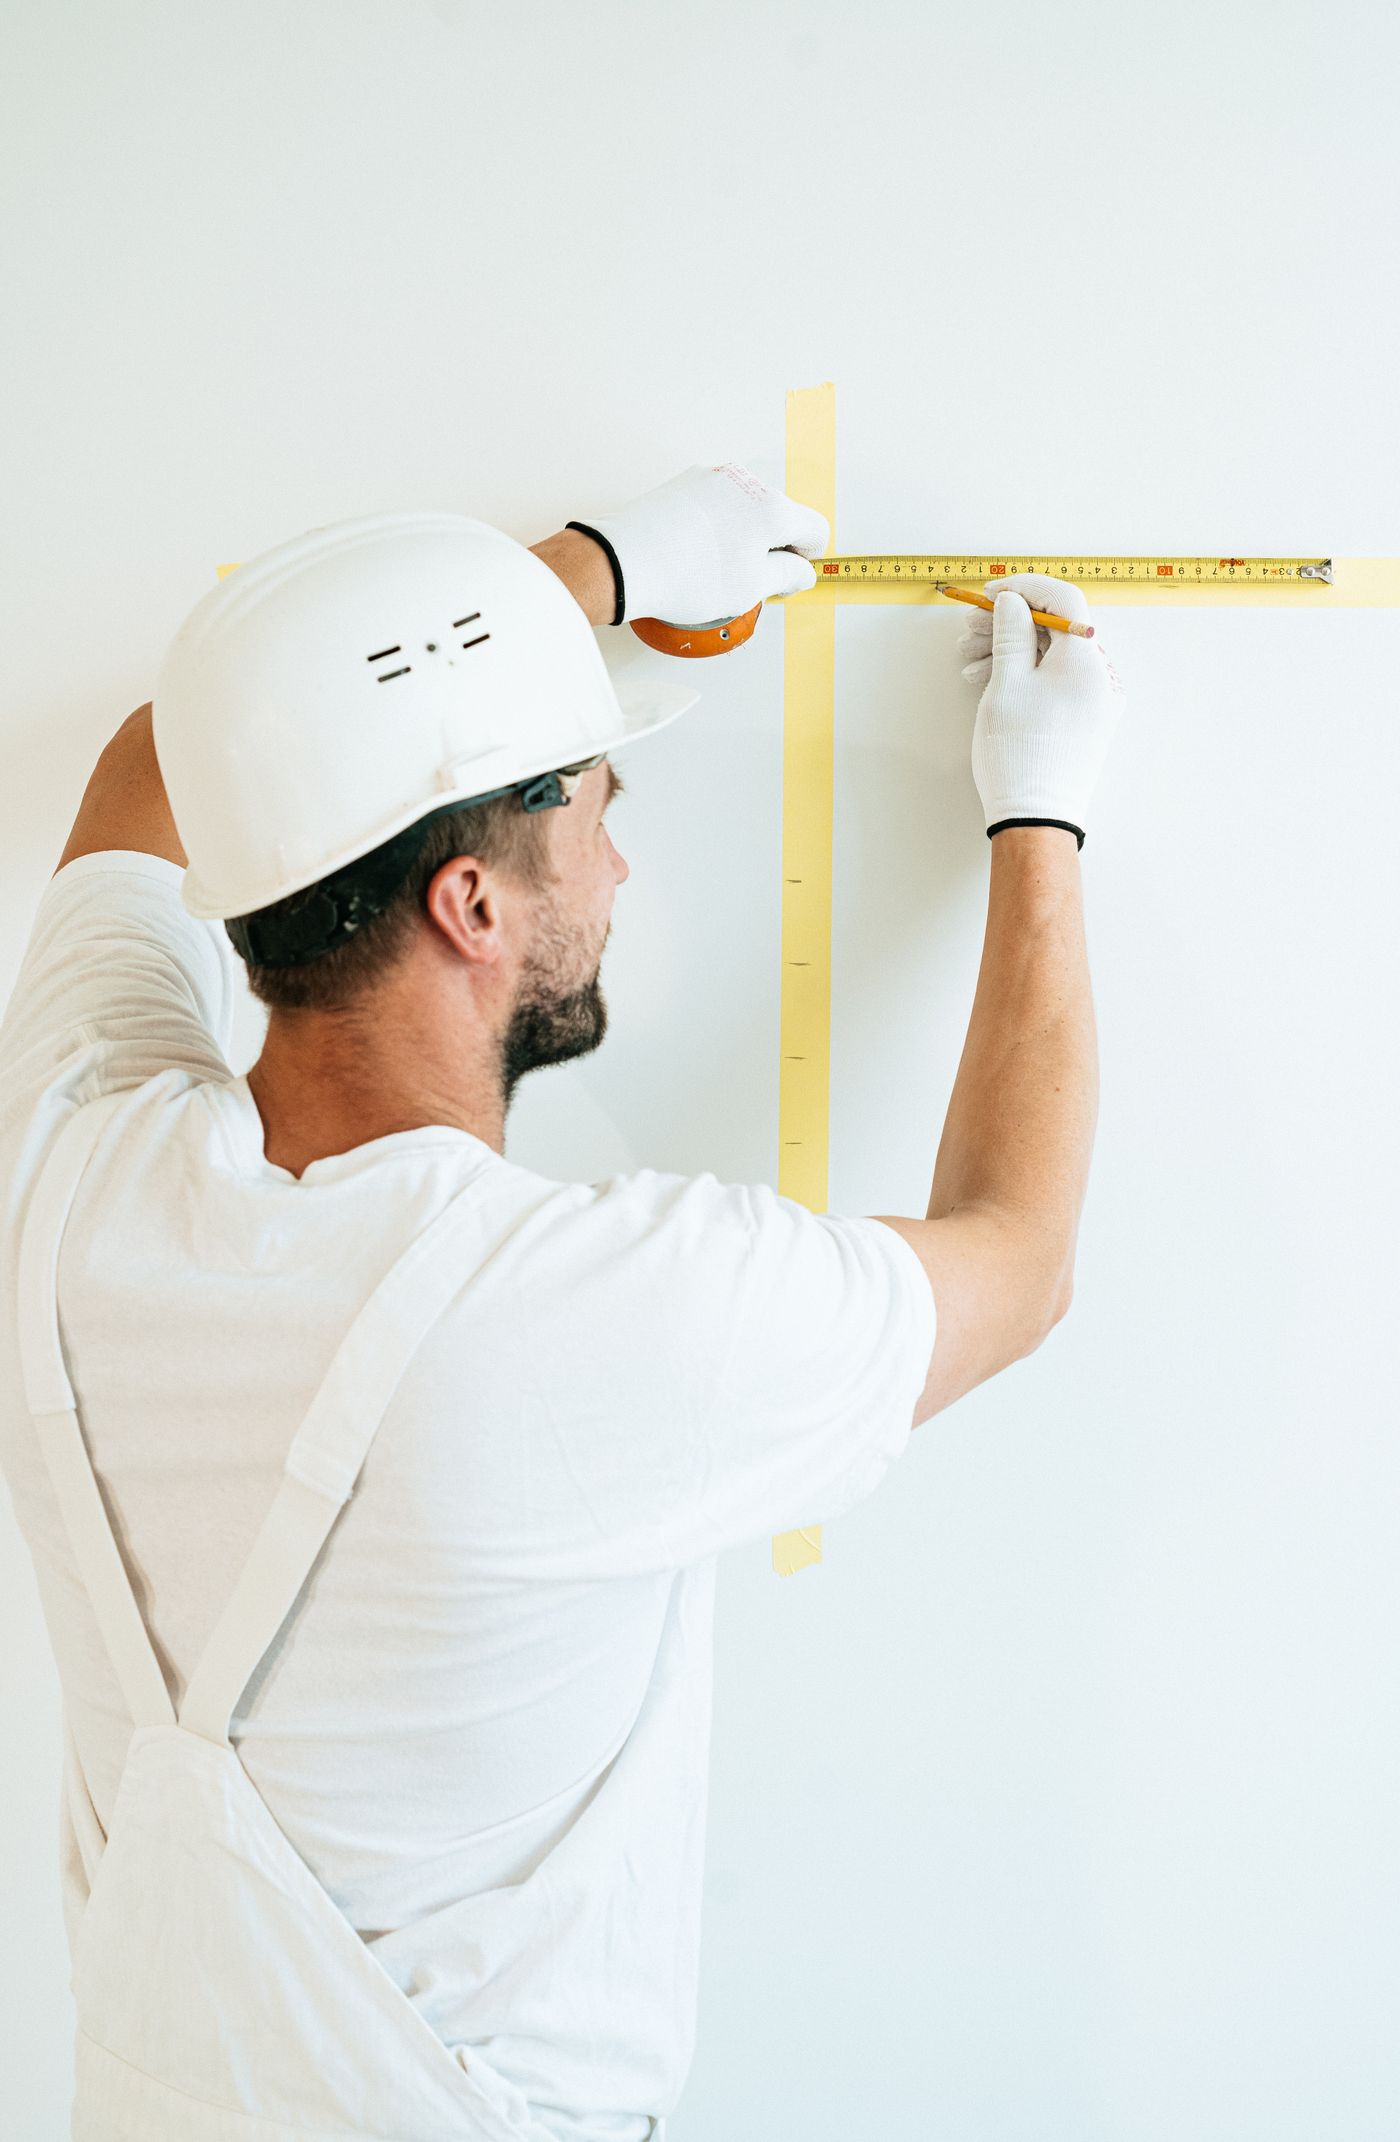
Decide where the shelf will sit. The center should be around eye level for display, or 60 cm above a desk. Hold the tape against the wall, mark the height with a pencil and use painter's tape to preview the shelf's length. Stepping back and looking at it from across the room saves many regrets.
Pro tip: Live with the tape outline for a day before drilling. Your eye will tell you if it is off.
2 Step 2
Use a stud finder to locate the wooden studs, typically 40 or 60 cm apart. Draw a faint line along the shelf height with the spirit level and check the bubble sits dead center. Mark the screw positions on the studs. Screwing into a stud holds far more weight than drywall anchors.
Pro tip: No stud where you need one? Use heavy-duty toggle anchors rated well above the weight you plan to load.

3 Step 3
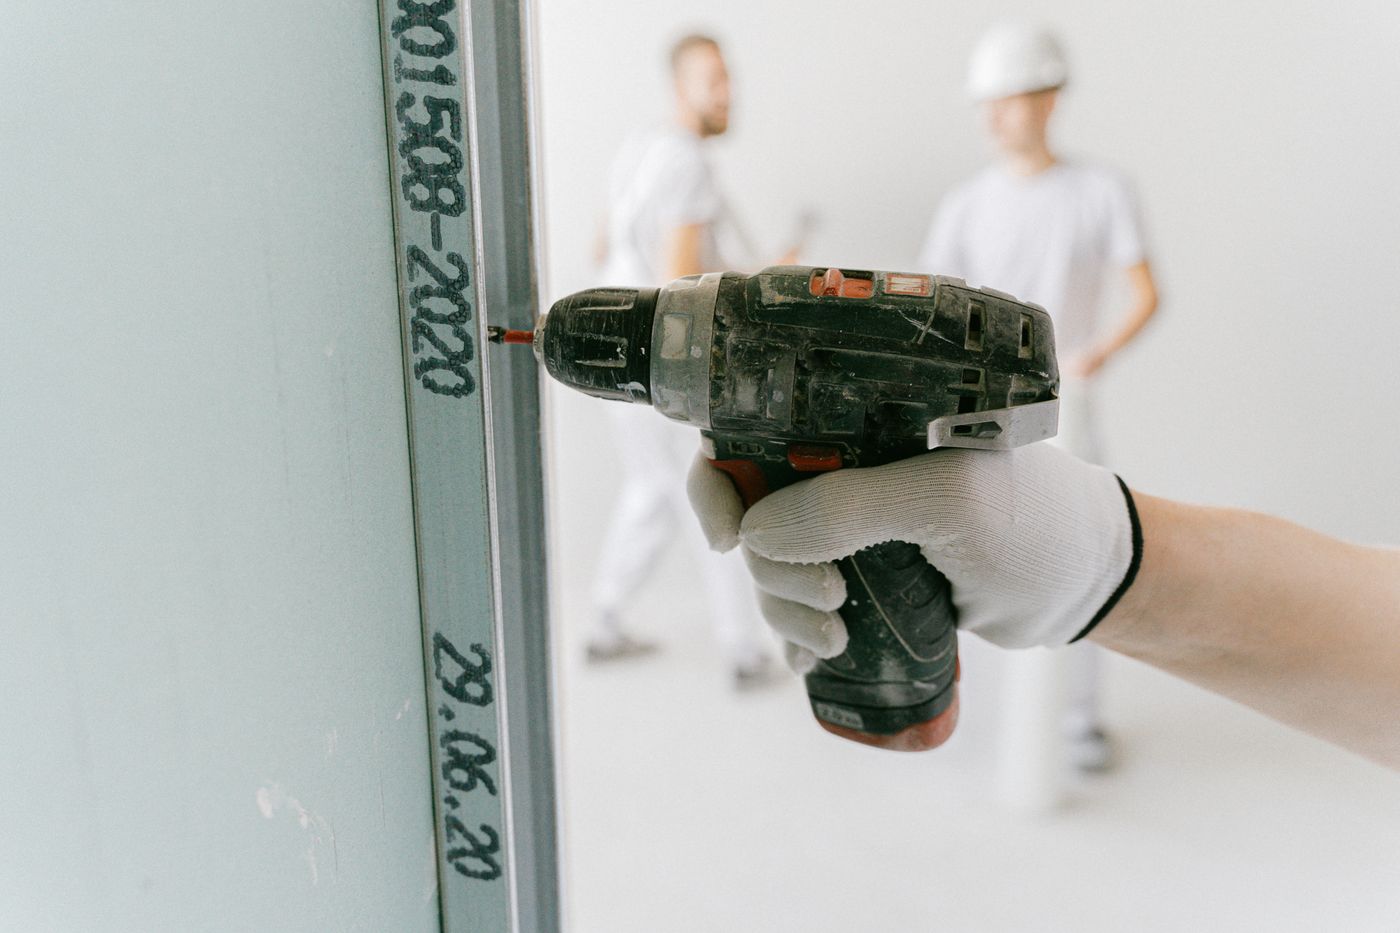
Choose a drill bit slightly smaller than your screw. Drill straight and steady at each marked point, to the depth of the screw. Vacuum the dust. Pilot holes keep the screws straight and stop the wood from splitting.
Pro tip: Wrap a bit of tape around the drill bit as a depth marker so you never go too deep.
4 Step 4
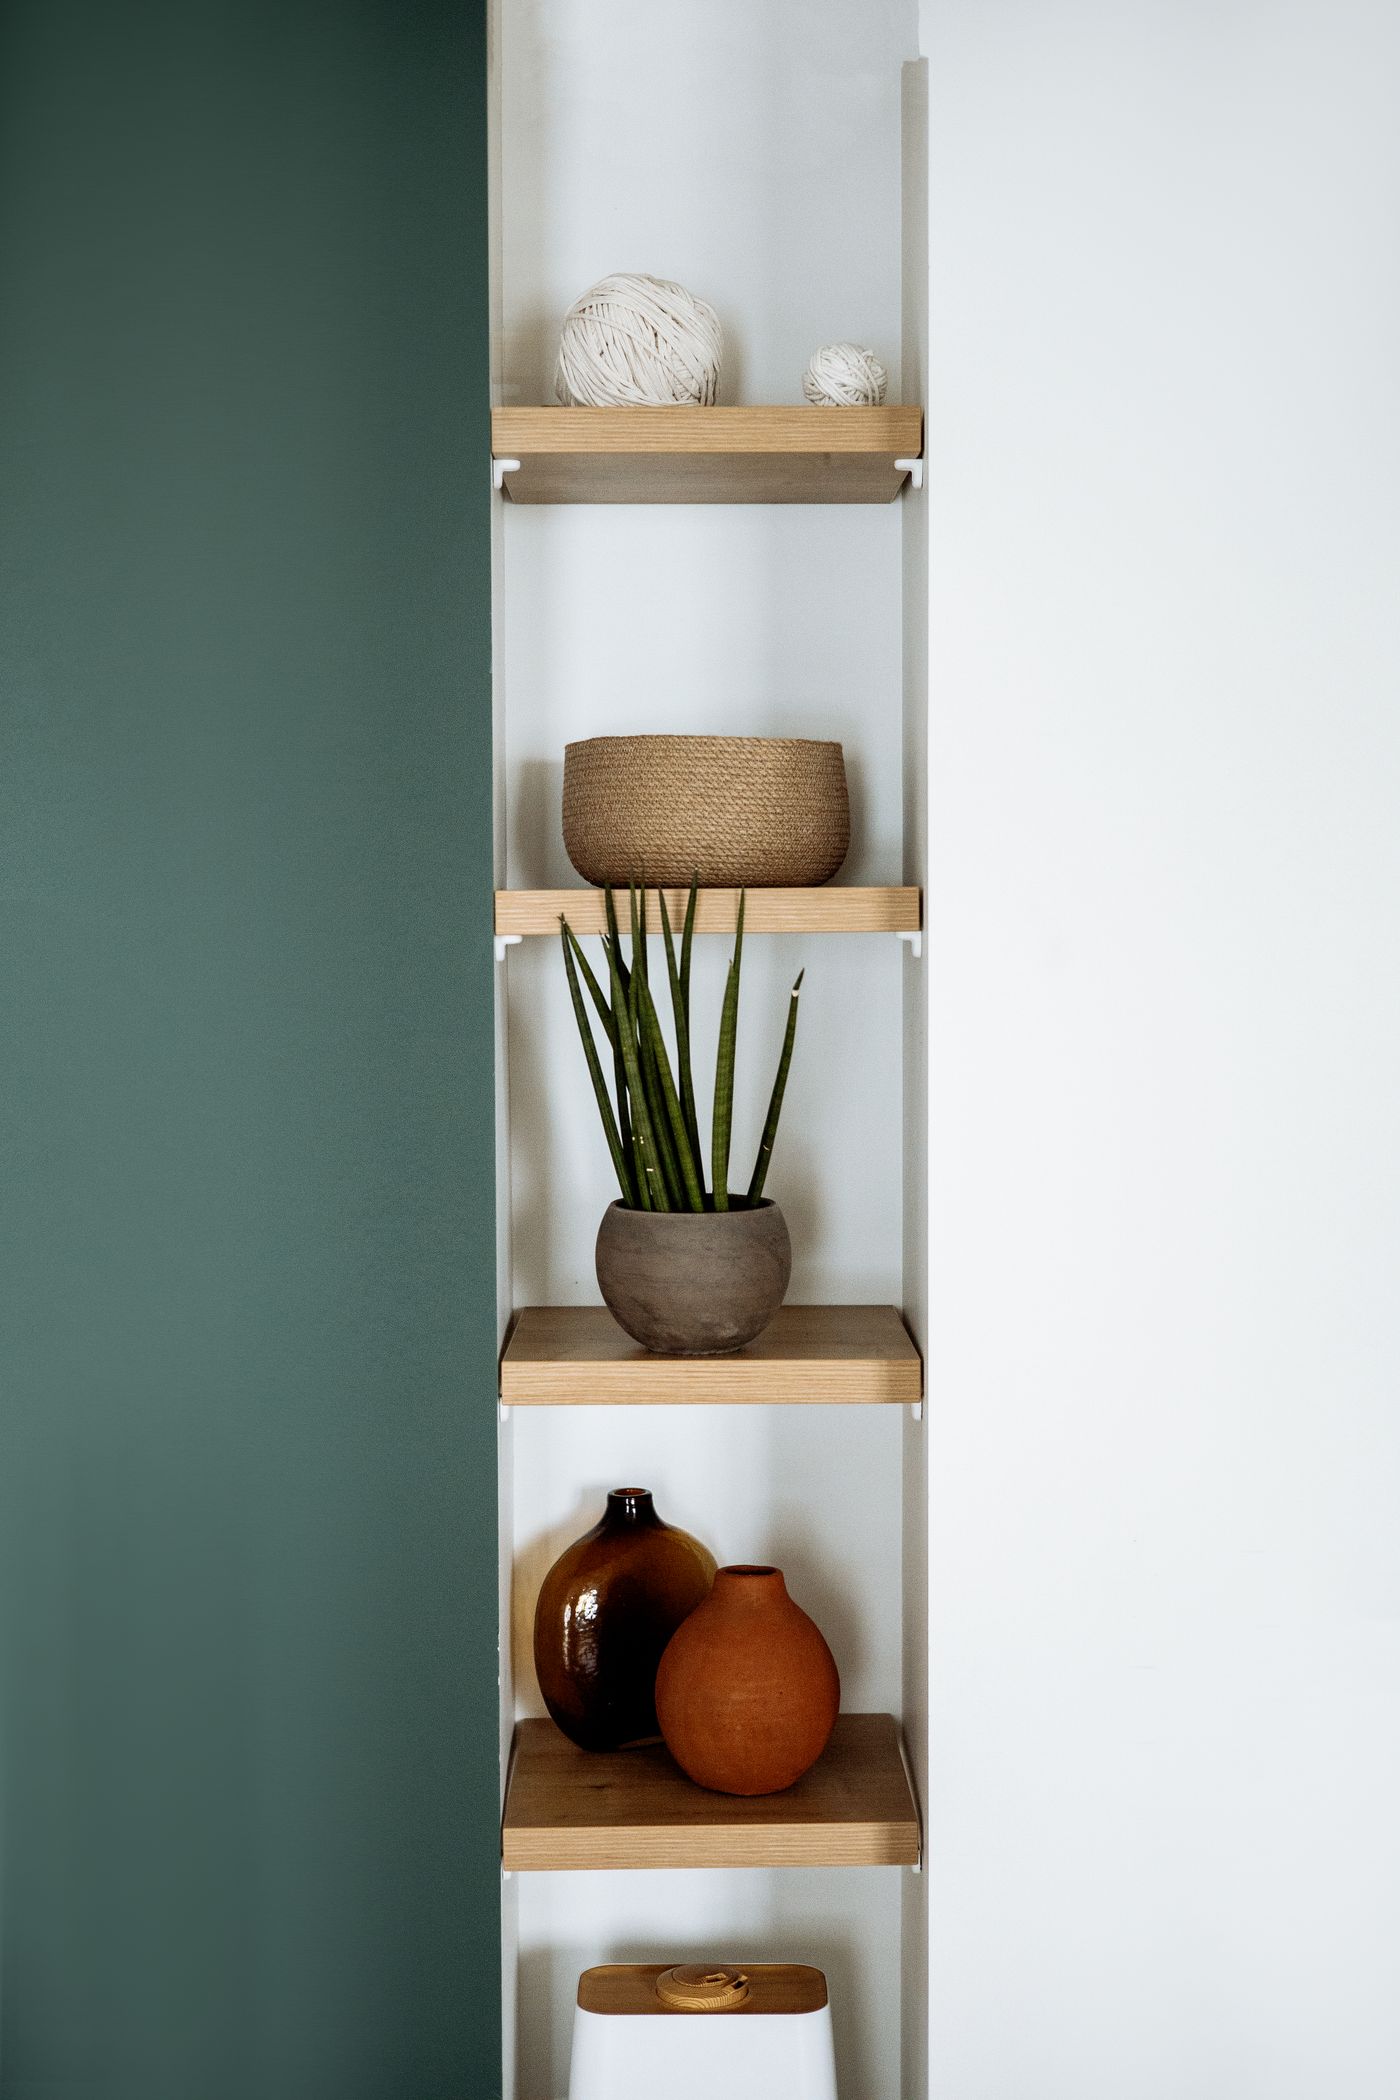
Screw the bracket to the wall, re-check it with the level, then slide the shelf onto the bracket and secure it from underneath. Start with light decor and add weight gradually. Keep heavier objects at the back, near the wall, and leave breathing room between items.
Pro tip: Group objects in odd numbers and mix heights. Three items look intentional, four look cluttered.
Something wrong with this tutorial?
Log in and finish the steps to leave a review.
Loading reviews…
Omar Haddad
Renovation contractor & PC building hobbyist
More tutorials related to this topic